
In the previous tutorial, we were deploying a sample app, and now we will go ahead and start developing our application, and testing it locally before we deploy it to Sitecore again.
In this tutorial, we will learn how to build a functioning application with Sitecore JSS and React.
- How to setup Sitecore JSS
- How to connect to Sitecore Instance
- How to build a functioning Sitecore JSS app
- How to deploy Sitecore JSS app to Sitecore
- How to deploy to your Sitecore JSS site to Netlify with Sitelify
If you have skipped previous steps, and you would like to dive right into the Sitecore JSS development, have a sample ready, by following the instructions:
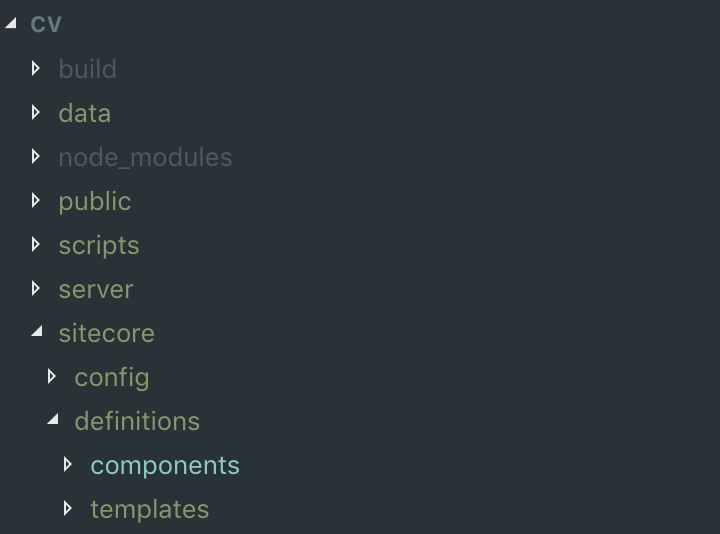
Before we begin by diving into the code, I would like to spend some time explaining some of the files are located and how we will be using them. These items were generated during the initial set up of a sample application
Route Layout Definition
In this file, we will be adding placeholders, components, editing field values, etc…

Component Definition
This is where part of your component will be stored, where you will be designing your component data structure, setting fields, setting an icon for the component, as well as defining placeholders, that need to be exposed.
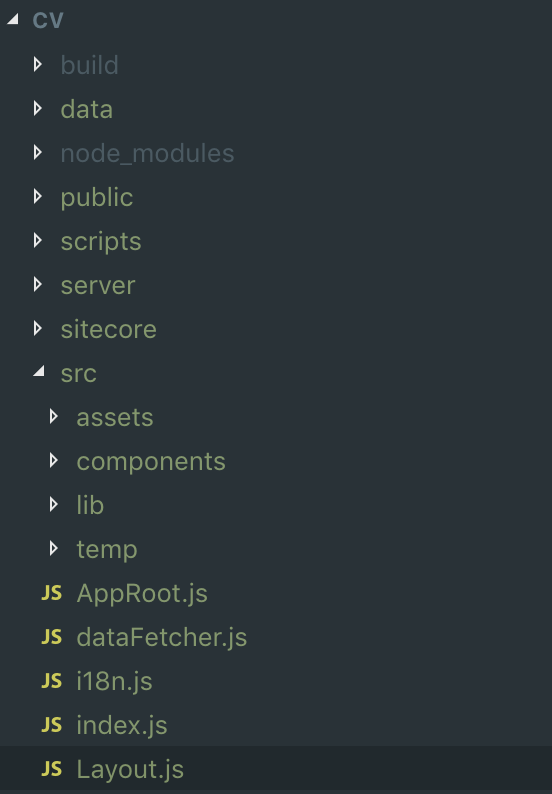
Component Source
This is where you will be creating your component, designing the look and feel of it.

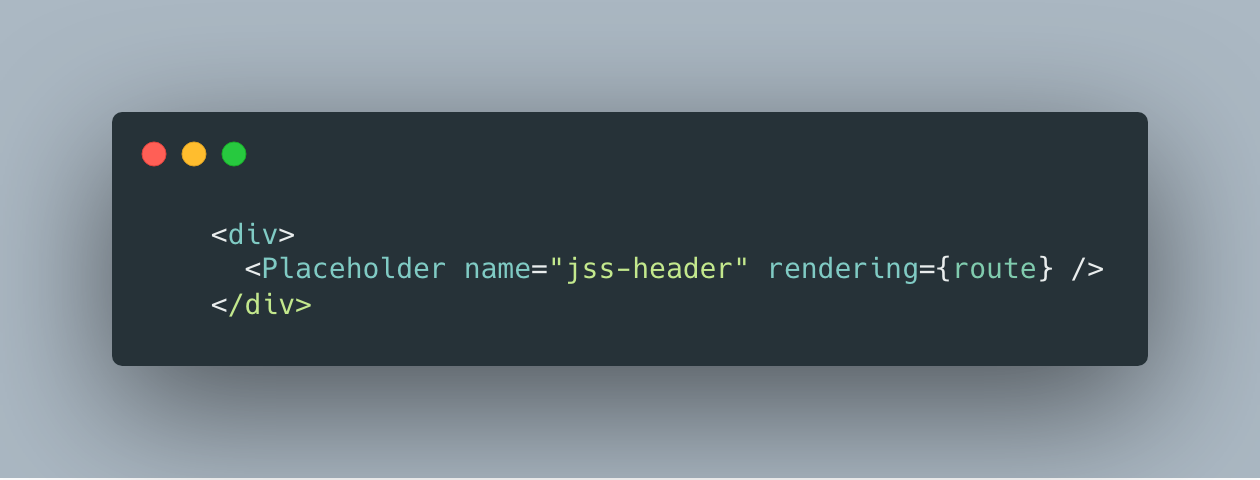
Layout
In Layout.js you will be designing your page layout
Placeholder settings
In placeholders.sitecore.js you will be adding placeholders

Register Placeholders in the package.json
If you will be creating any placeholders, you will have to register them in your package.json file.
 "config": {
    "rootPlaceholders": ["jss-1", "jss-2"]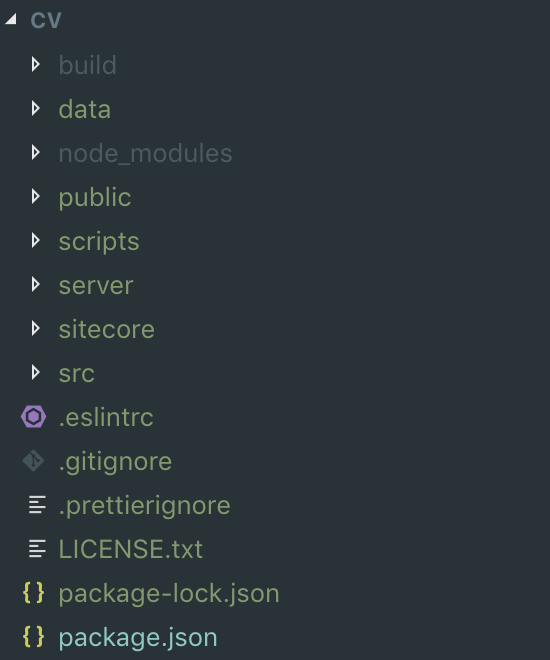
We will be taking an approach of Disconnected Mode. So we will be creating a website locally first using Sitecore JSS CLI
You might notice that screenshots are different before this line, and it is referencing a “CV” application, it is my other project, everything below this line, will be all related to “sitecore-jss-blog”.
First, we will start with the creation of a sample app, and you can follow instructions in Step 2 on how to get started or follow instructions on https://jss.sitecore.com/docs
Next step we will start creating components and placing them on the page
First Part that we will focus on will be creating a few components using JSS CLI:
jss scaffold BlogHeader
jss scaffold BlogMainContent
jss scaffold BlogFooter
jss scaffold Article
It will automatically generate all the files that are needed for your development.
At this time we can start adding styling and all of the content
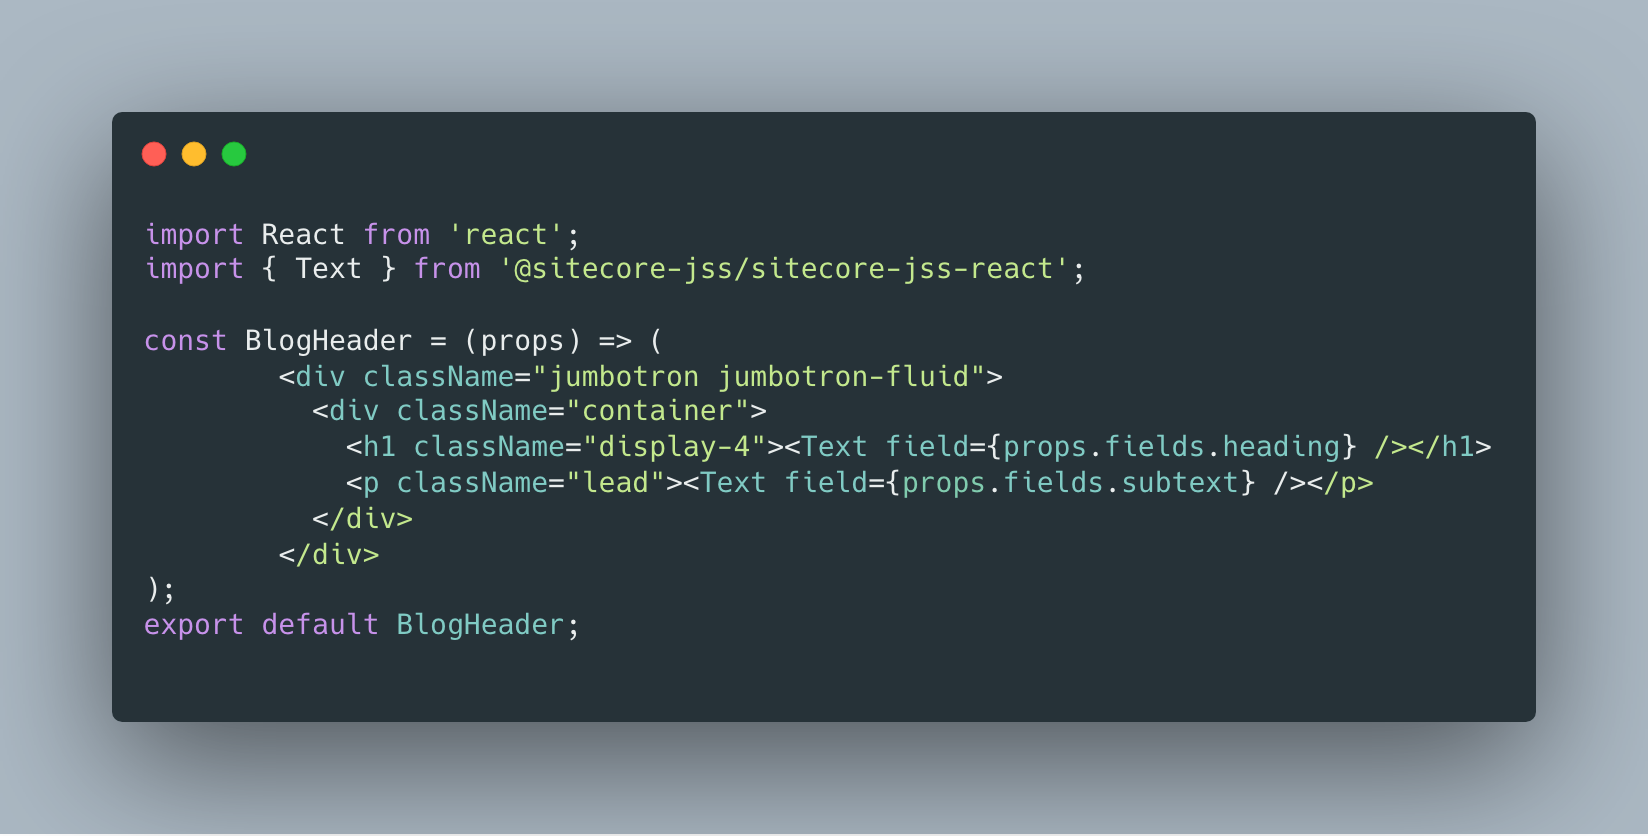
Let’s add some fields and set the icon for the BlogHeader Component

Now let’s customize the BlogHeader component
Go ahead and add some data to data.yml

You might notice that I have modified the default placeholder, you can also do it, by editing the main layout and registering the placeholder
And don’t forget to register it in your package.json

Let’s preview this in our browser

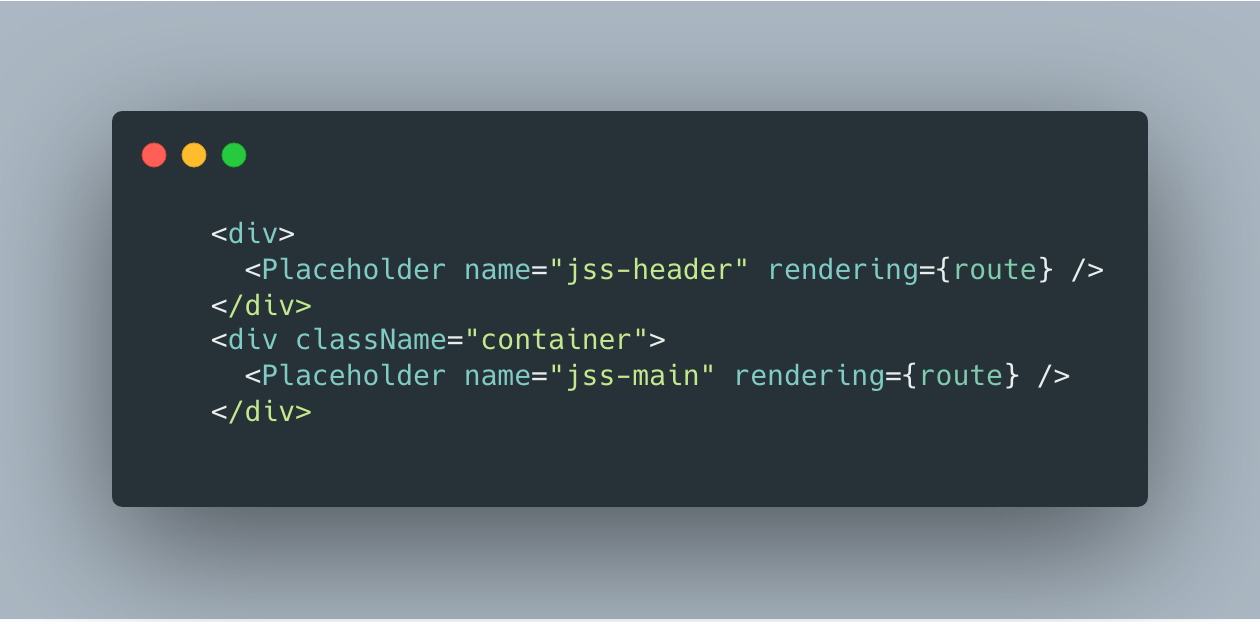
Next, let’s go ahead and add another component into the other placeholder, first let us add the placeholder to our Layout.
Now we will go ahead and update the BlogMainContent, definition as well as the source, the component that we created earlier with Sitecore JSS CLI.


Lastly, let’s go ahead and add some data.

Let’s check out the browser you should see your changes here

Now you have a functioning page, and you are able to load and modify the content locally. We will dive deeper in routes and Footer in the next series, please follow me and twitter to get the latest updates and you can get the code for free from my GitHub and use it for your own project.
In the next step, we will be learning How to deploy Sitecore JSS app to Sitecore, so we can see utilizing all the functionality of the platform such as Experience Editor and of course utilize Personalization.
5 thoughts on “Sitecore JSS Series for Developer: How to build a functioning Sitecore JSS app (3 of 5)”