In this blog series I will cover for you how you can create Headless Commerce Solution on the Sitecore Experience Platform by utilizing Sitecore JSS.
WOOLI has been in the EPAM lab since the JSS Technical Preview. So now EPAM is ready to share it with the Sitecore community, and that is simply great.
This is what you need in order to follow my tutorial:
- Sitecore Experience Commerce 9.1 (https://dev.sitecore.net/Downloads/Sitecore_Commerce/91/Sitecore_Experience_Commerce_91_Initial_Release.aspx)
- Sitecore JSS – 11.1.0 (https://dev.sitecore.net/Downloads/Sitecore_JavaScript_Services/120/Sitecore_JavaScript_Services_1200.aspx)
- NodeJS – 10.15.3 (https://nodejs.org/dist/v10.15.3/)
- WOOLI – https://github.com/epam/sitecore-headless-commerce-accelerator
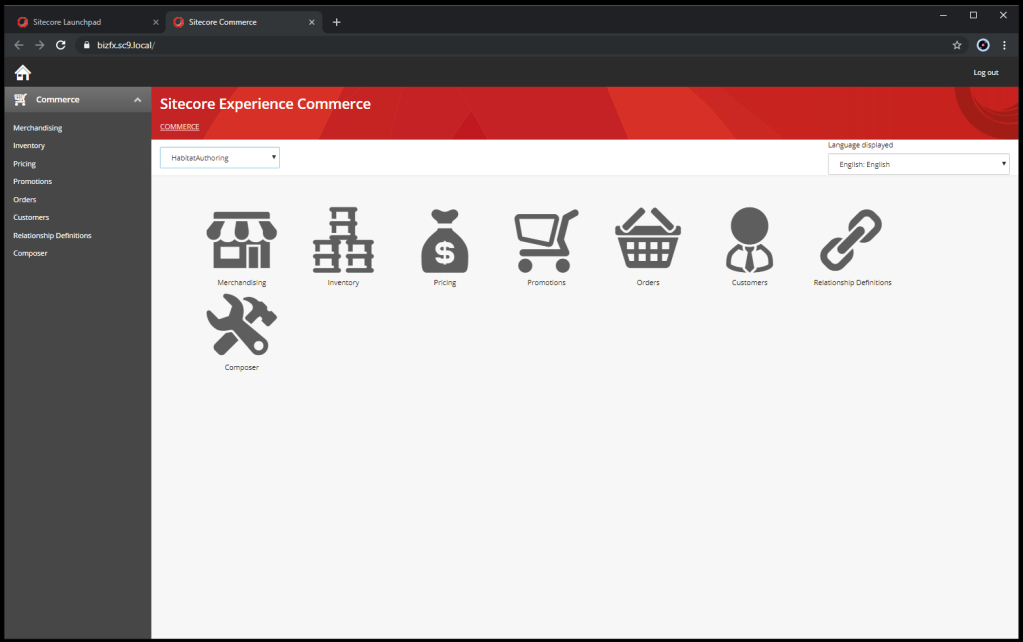
First let’s start our Sitecore Instance and make sure that everything is operating and Commerce is loading and our certificates are in place.
Lets make sure that we can load Sitecore Commerce
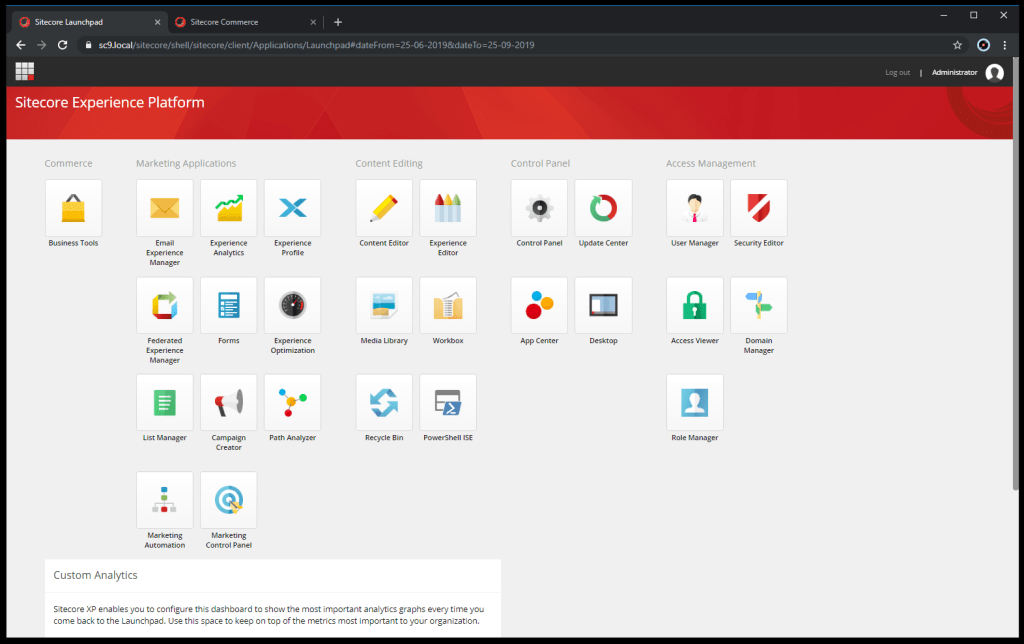
Lets make sure that we can load Sitecore Content Editor
All Right now, is the fun time, let’s go ahead and install NODEJS and Sitecore JSS. Using choco lets install nodejs
choco install nodejsWhat is Choco? It is a package manager for Windows. Here is how to get it.
https://chocolatey.org/docs/installation
Okay so by now we have node installed, let’s go ahead and install Sitecore JSS. If you don’t know how to install Sitecore JSS, here is the link to my other blog.
So far everything was smooth. Make sure you are installing the JSS version that is compatible with XC 9.1.
And When you are creating an API Key, you need to be in the Master DB.
Now it is time for the easy task to build and deploy WOOLI to the Sitecore.
These are the following operation that you will need to perform in order to continue:
- Run npm install in the folder to install all the node_modules
- Add Nuget Packages Sources
- Restore Nuget Packages
- Execture scr/build.ps1
If you don’t do that, this is what you will get:
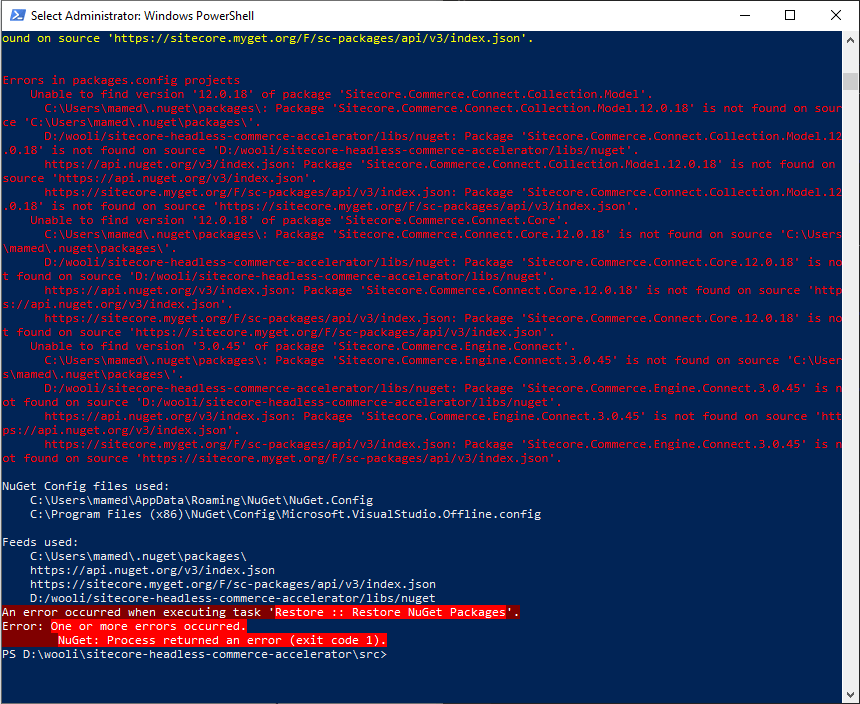
Make sure you add the appropriate Package Sources as it is highlighted in the repository readme

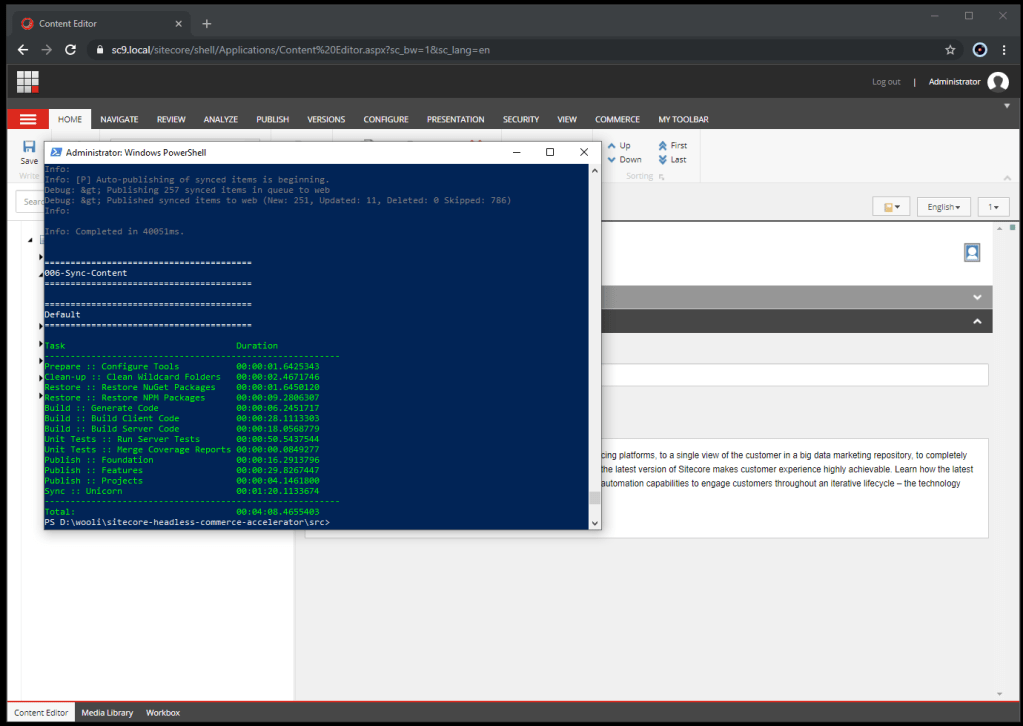
So once you run the build.ps1, all your code will build and deploy.
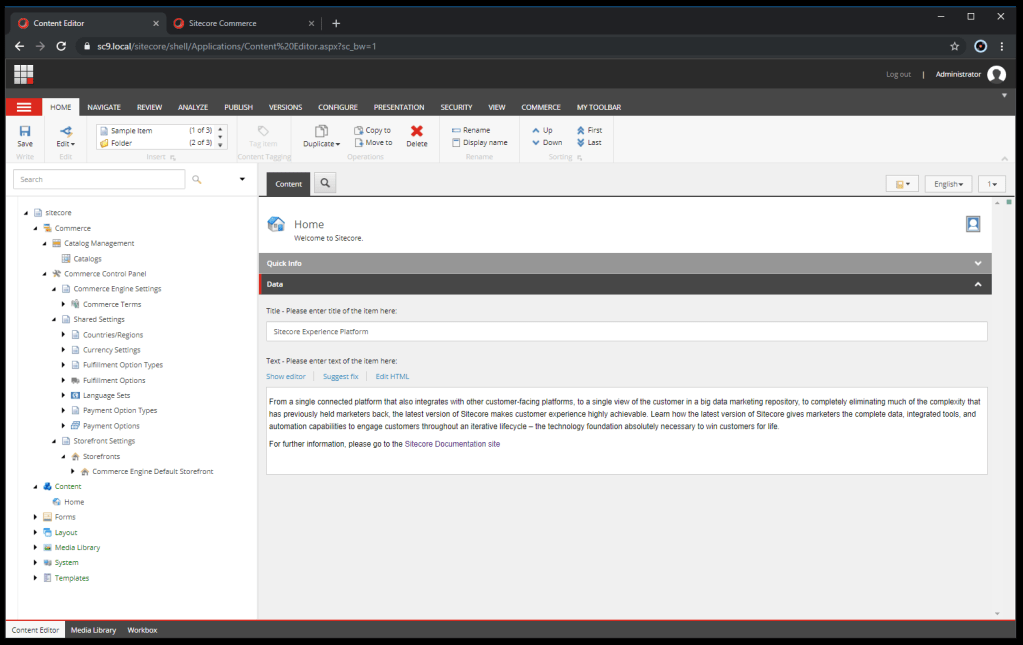
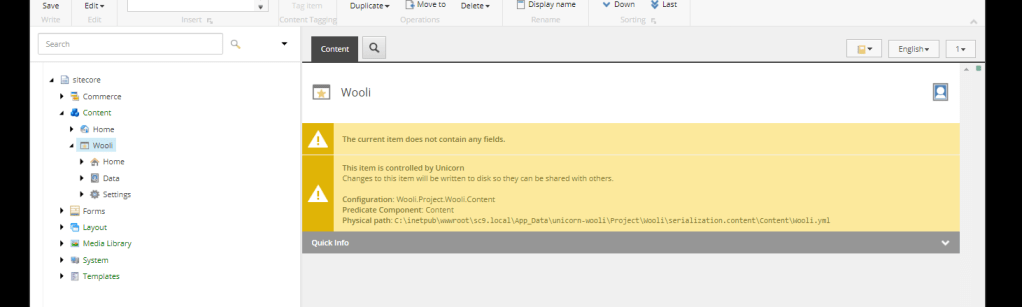
Lets Open the Content Editor and we will see Wooli has been deployed to our Sitecore Instance, where Sitecore Commerce is also installed.
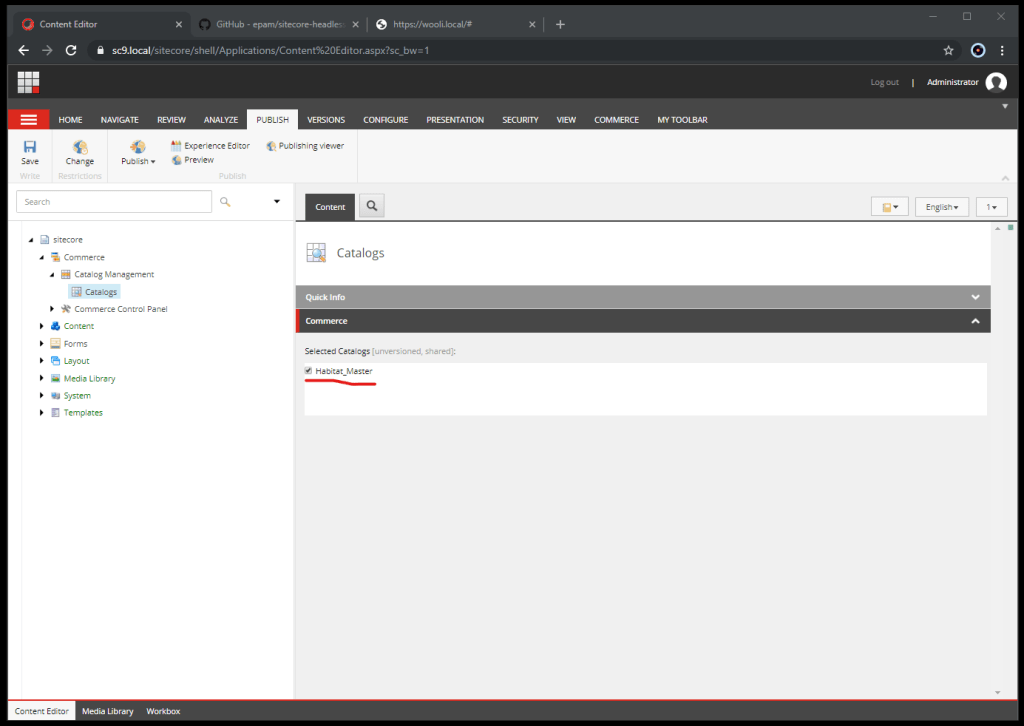
Change the Catalog
Don’t forget to Rebuild Indexes
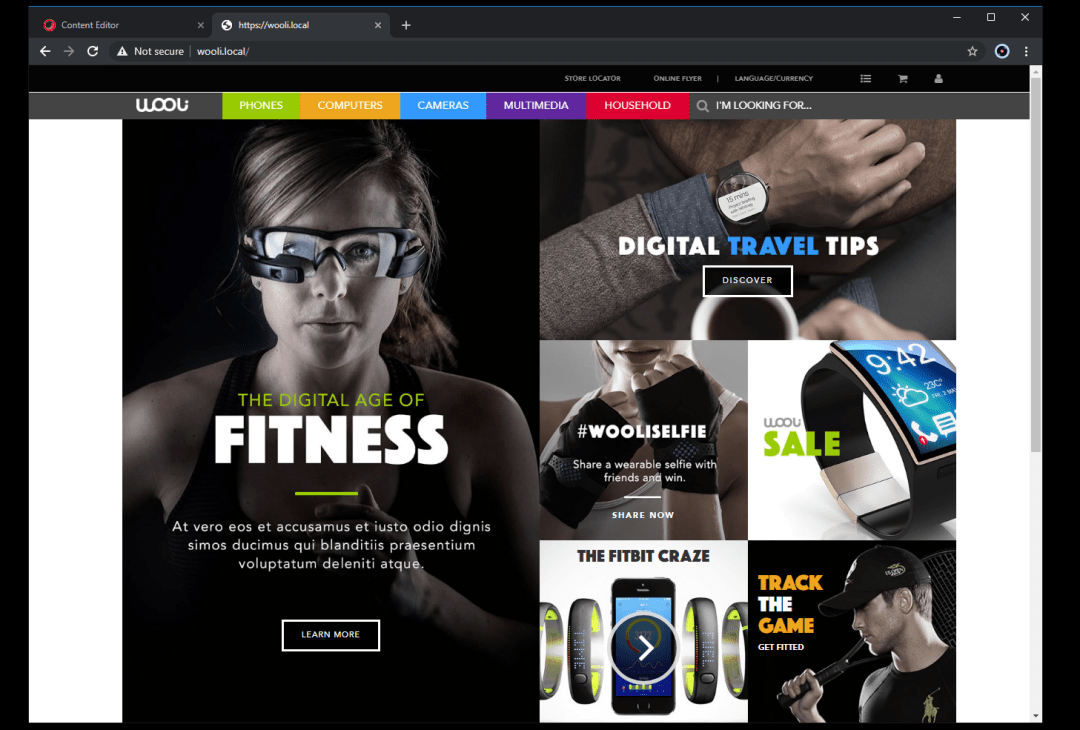
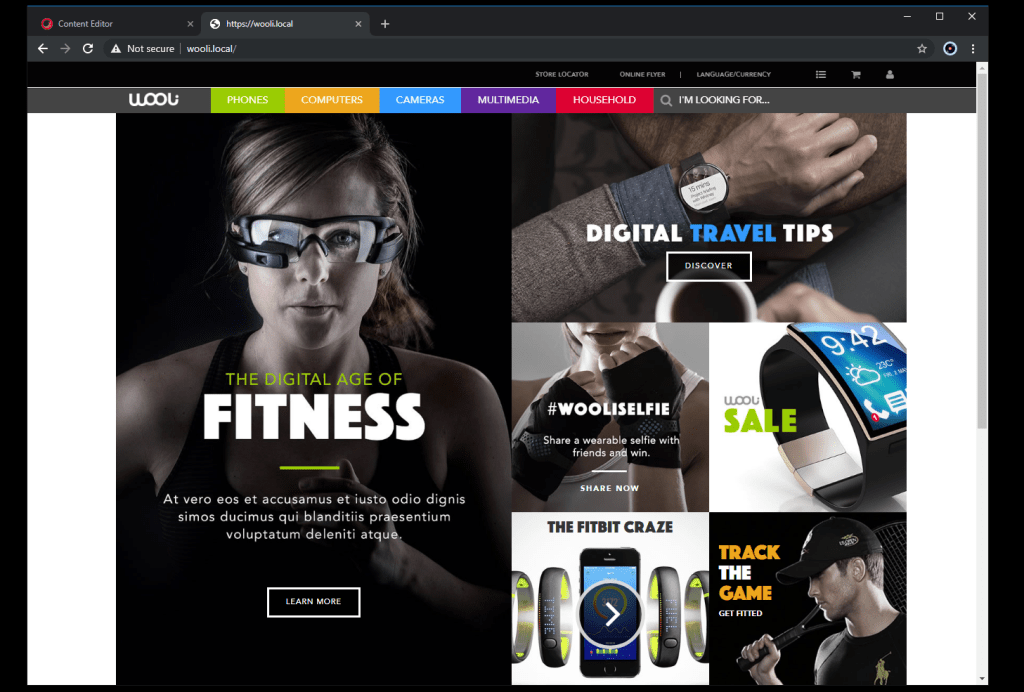
Make sure you have the appropriate bindings set up and load up http://wooli.local/
If you have any questions or problems reach out to me on Twitter or LinkedIn, or you can create an issue in GitHub, that will be the best way to do, you can be helping other as well https://github.com/epam/sitecore-headless-commerce-accelerator/issues
Stay tuned for the next blog about Headless Sitecore Commerce with Sitecore JSS
One thought on “Headless Sitecore Commerce with Sitecore JSS – Part 1”